Number one - become familiar with the Edit Html tab. When you're typing in it, it looks like this.

The stuff in the brackets is the actual HTML code, and it does the cool stuff like italics and links and inline images and videos.
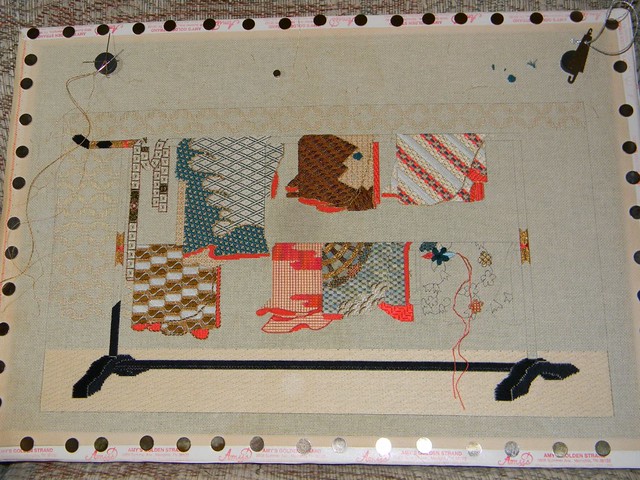
I'd like to show you the embroidery I'm working on. I recently took a picture of it and uploaded it to Flickr. They just changed the look and feel of Flickr, so this will be topical for a while! :)
I went to the photo page and clicked "share this."

Then I clicked "grab the html." Remember, you're in the HTML tag, so you want to grab the HTML.

Just follow the instructions - copy and paste the code over into your Edit Html blogger tab. It'll look like this:

But when you click the Preview button, you will see actual pictures instead of html code.

It's a little confusing at first. You don't have to READ the stuff in between the <> and the brackets, and if you accidentally type something in there you can "break" your pictures so they don't work. If you keep flipping back and forth between edit html and preview, you can usually straighten it out.
It's a little confusing at first. Remember that there's always two sets of brackets - links have a <a href blahblah1233> part and a </a> part. You don't have to READ the stuff in between the <a blahblah> and the </a> brackets, and if you accidentally type something in there you can "break" your pictures so they don't work. If you keep flipping back and forth between edit html and preview, you can usually straighten it out. Stay out of the code in the brackets, though, and you'll be fine! And remember, you can flip back over to the Compose tab as soon as you've pasted the HTML in.
If yall like this, I'll do another couple posts like it to follow up.
Yes! Help! I've figured out the cut and paste html, but I know there's other cool stuff I don't know how to do.
ReplyDeleteGenius! Thank you, Funder. Now I'm gonna practice!
ReplyDelete